

Let’s do a tutorial of the golden Dornish eye I posted yesterday! First, start with a fresh, clean face. Except here, I gave myself an eyebrow because… well… eyebrows are important.
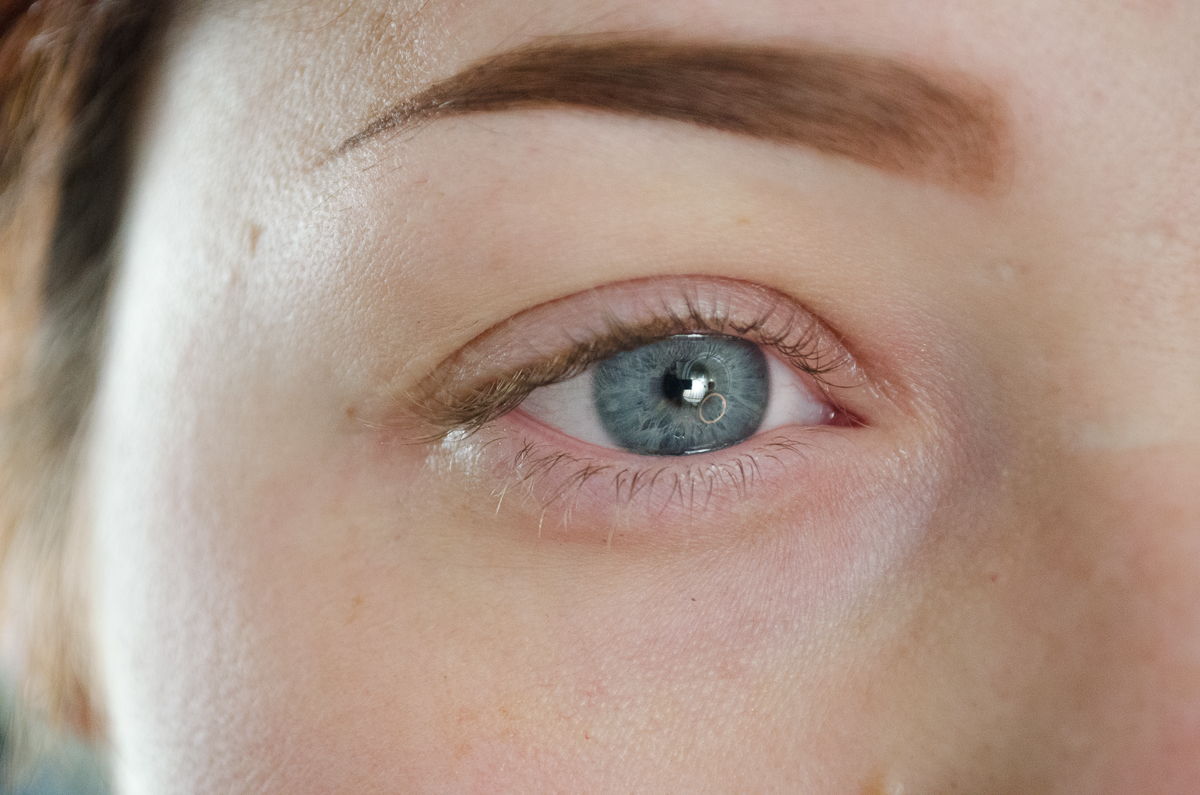
Prime that eye! I’m a huge fan of NARS smudeproof primer, but you can pick your favorite and prime from lash line to brow

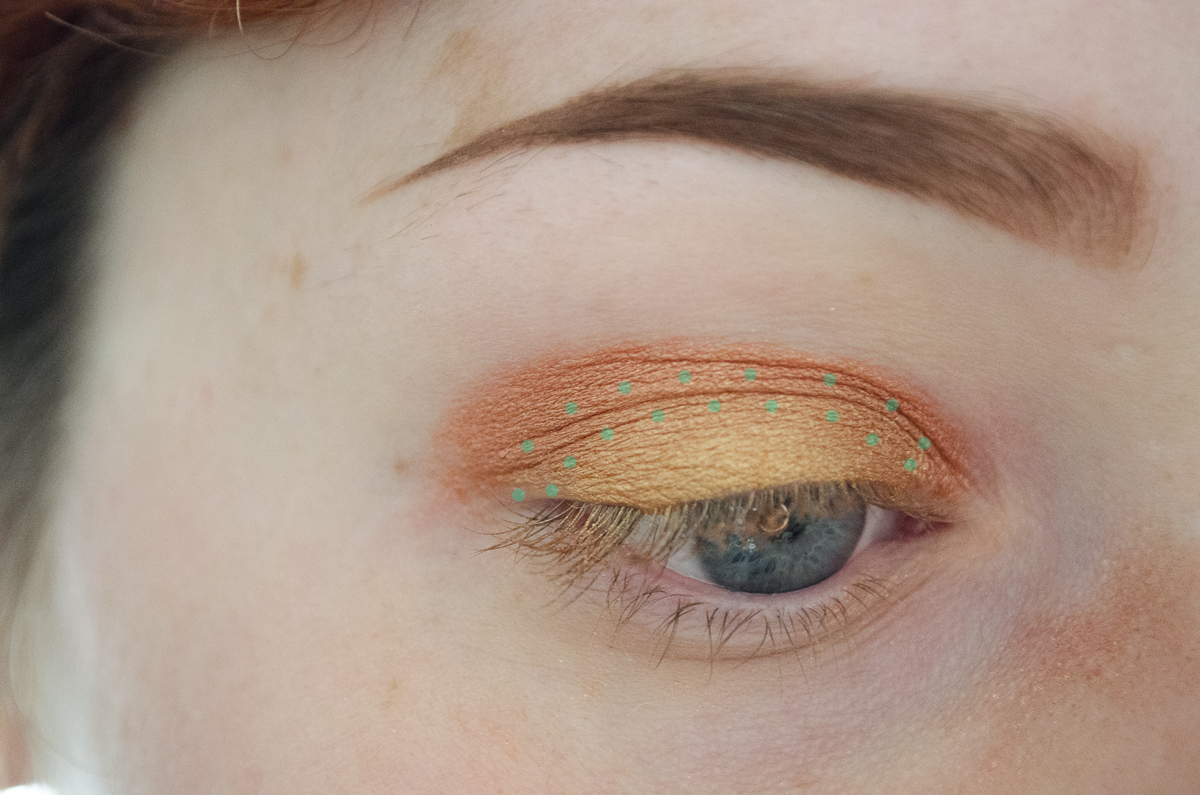
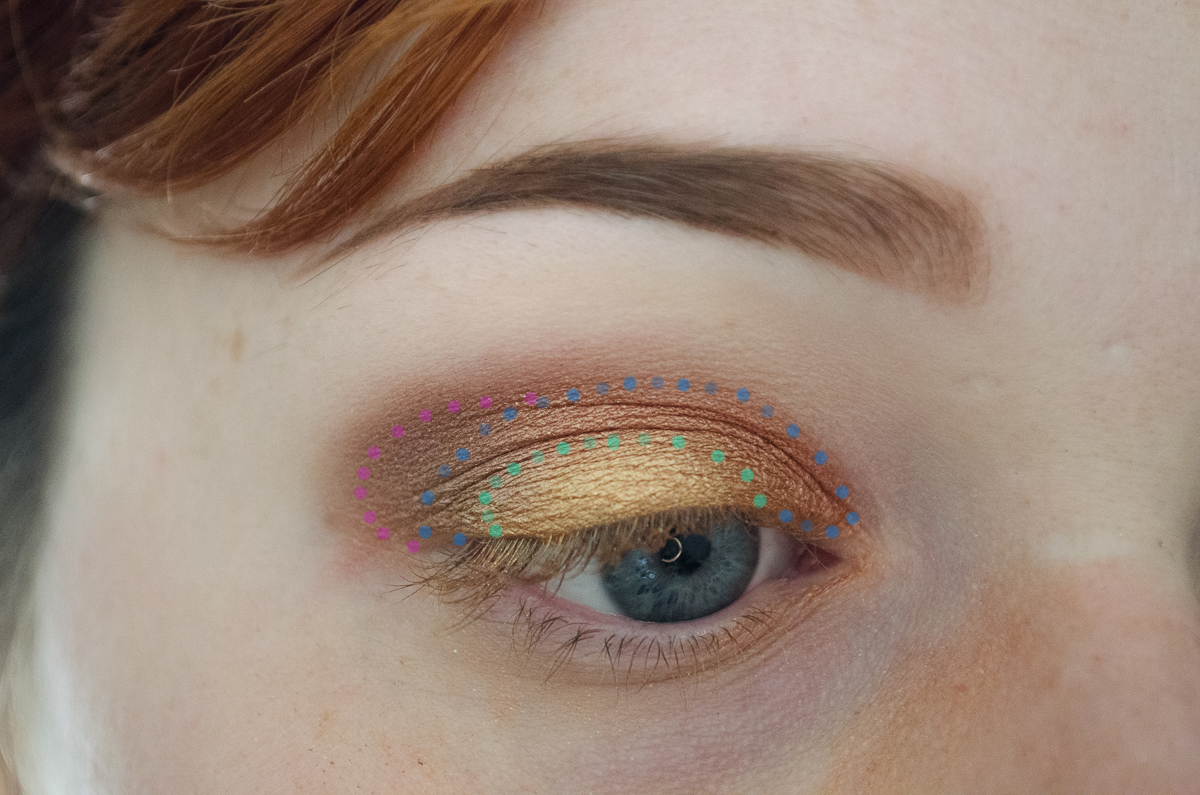
Now go to that beautiful shadow collection you have sitting around and find a gold eyeshadow. This is Hello Waffle 1000 Likes. Apply it to the bottom part of the upper lid in a wide half circle, from the lash line to about halfway up the lid. A patting motion with a good amount of shadow deposited onto the brush provides the best pigmentation. Just imagine you’re reassuring your eye that everything is going to be ok– there there, eye, there there.

Next, snag a copper eyeshadow (Hello Waffle Enabling here) and repeat your patting, carefully applying above and around the gold to the inner and outer corners, and up to (but not into) the crease. I try to use a small, flat brush especially for this part, to be fairly precise.
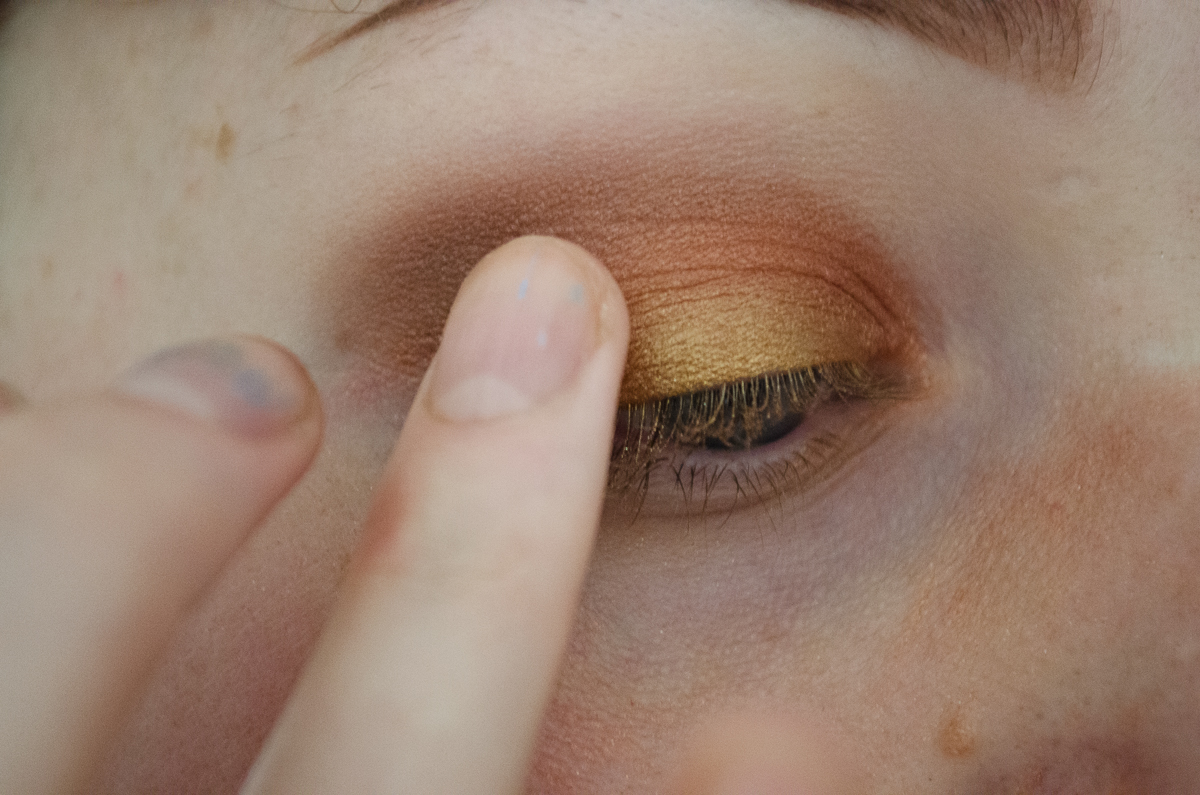
Blending time! Take your small flat brush and blend the gold and copper in teeny tiny circles to create a gradient between the two colors. Be careful not to blend too far up or down, as you want the gold and copper to still stand out from one another. But either way, blend, blend for your life!

Find a darker copper shadow (this one is Darling Girl Fira) and apply to the outer edge of the eye, and up into the crease. I use a thin, fluffy brush for this (I love the Hakuhodo J5529 brush), and blend it into the outer side of the crease. Think soft… reddish… clouds?
Right after this step, not clearly depicted here, is applying a neutral, matte shadow from just above the crease up to the brow bone. This helps to blend the darker copper shadow a bit better.
This is where your sticky base comes in! It makes the magic happen! Like wizards I tell you! I prefer to apply my sticky base after applying my shadows over regular primer and getting the blending that I want. I apply the sticky base just to where I want to reapply the shadow to bring out the shine (in this case, over most of the lid). Take the very thinnest amount you can without not having any and gently pat it over the lid. Let it dry down a bit, so you aren’t applying while it’s super wet.
On the note of sticky bases, I prefer to use Fyrinnae Pixie Epoxy for shadows with LOTS of shimmer/shift, and Darling Girl Glitter Glue with shadows that don’t have quite as much glitz. I used Glitter Glue here.
Now go back over with extra shadow to add shine. Careful careful not to disrupt your blending too much! Pat just a bit of each shadow back over the sticky base to bring out whatever shifts/shimmers it might have.
Also not entirely clearly depicted here is taking your darker copper shadow and blowing it out in the crease just a little more, into that matte neutral color you applied to the brow bone earlier.
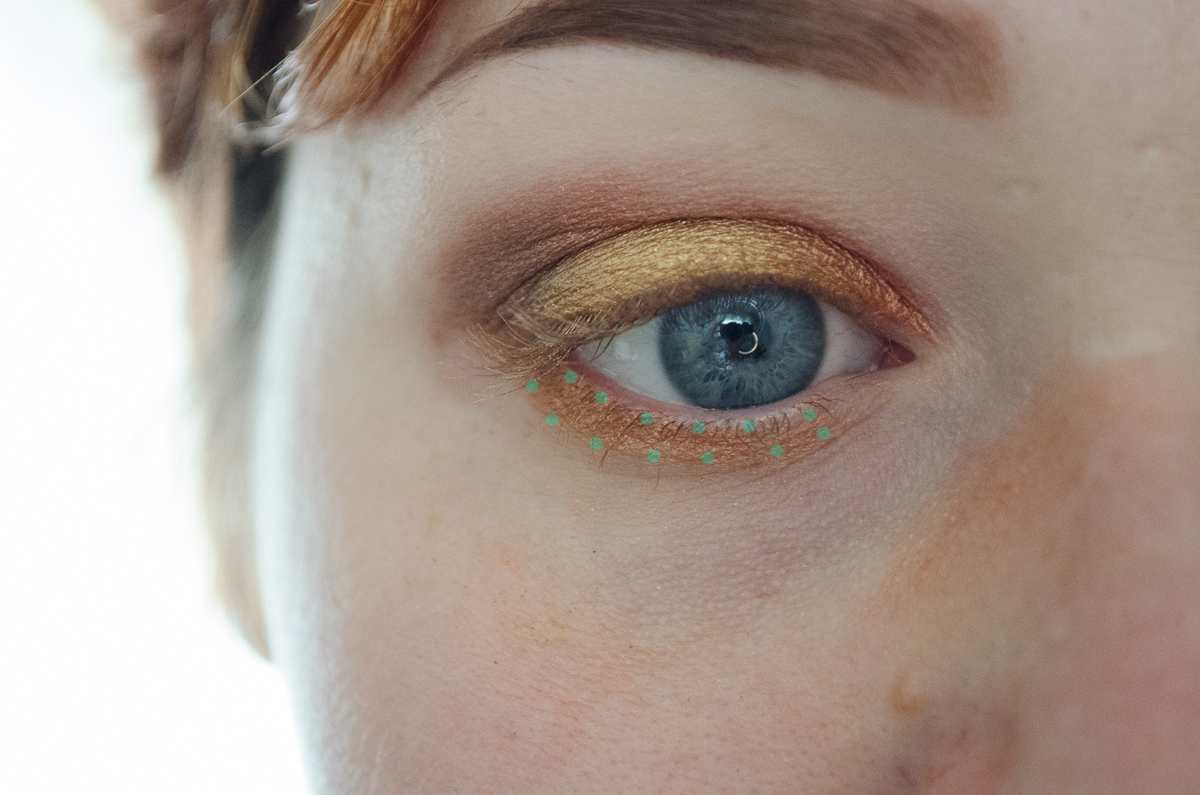
Take some of that copper and gold and apply to the lower lid. I applied the gold first across most of the lower lid, and then the copper to the outer half.

Give a bit of dimension to the look by lightly applying a bit of your dark shadow right along the lashline. You want it to be well blended, so if you get too much on there, take some of the gold and blend back over.
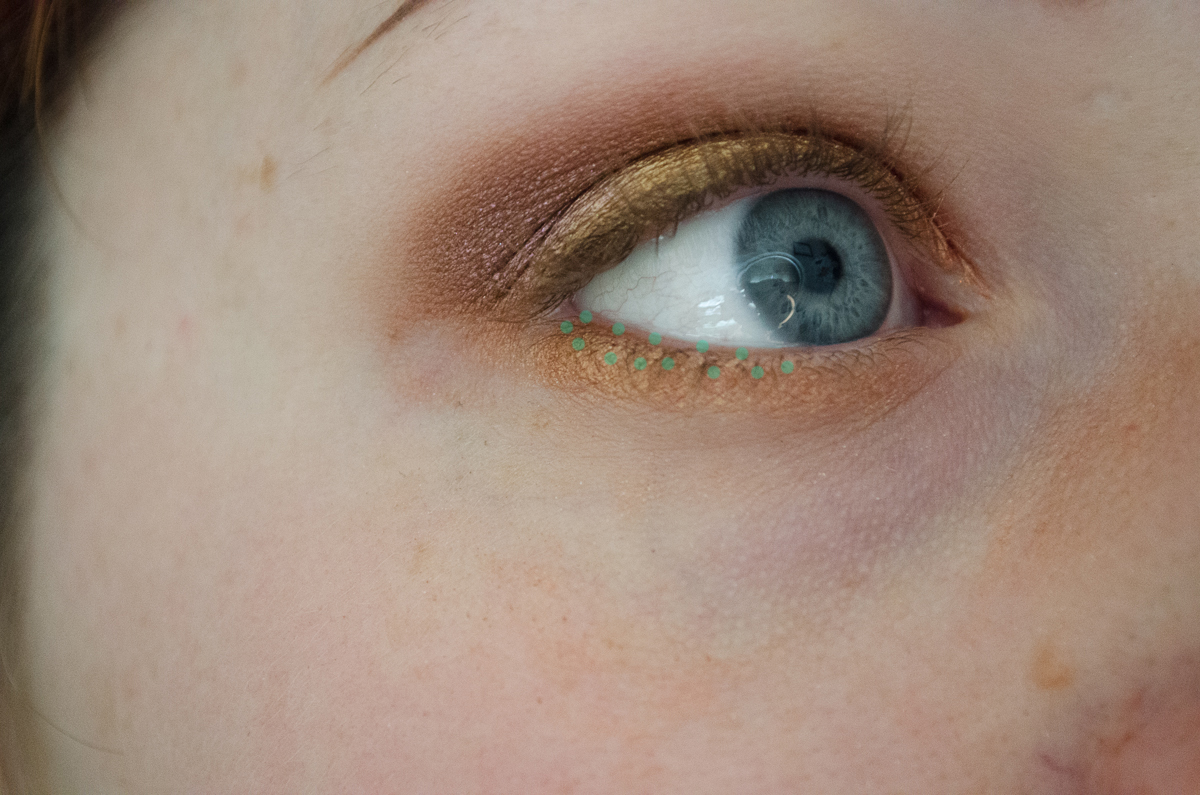
Take that same dark shadow and put a teensy bit along the outer half of the lower lash line.
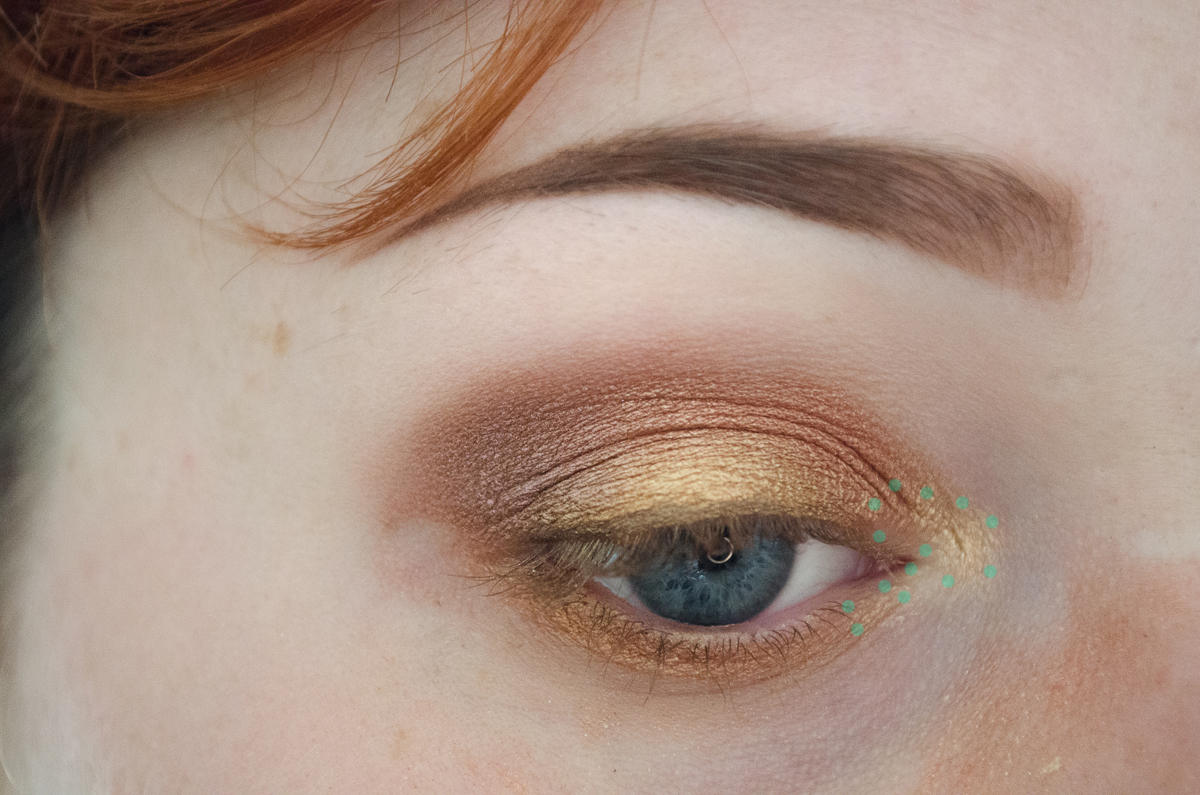
Highlight time! Take a light yellow shadow (or really whatever inner eye highlight you like, I recommend one with more golden tones) and apply to your tear duct. Such shine, so wow.

Slap some mascara on there! But WAIT, curl your lashes first!


And voila, one eye done! Now go do the other eye! Also recommended is applying the rest of your makeup and stepping into some better lighting…
For something like this:
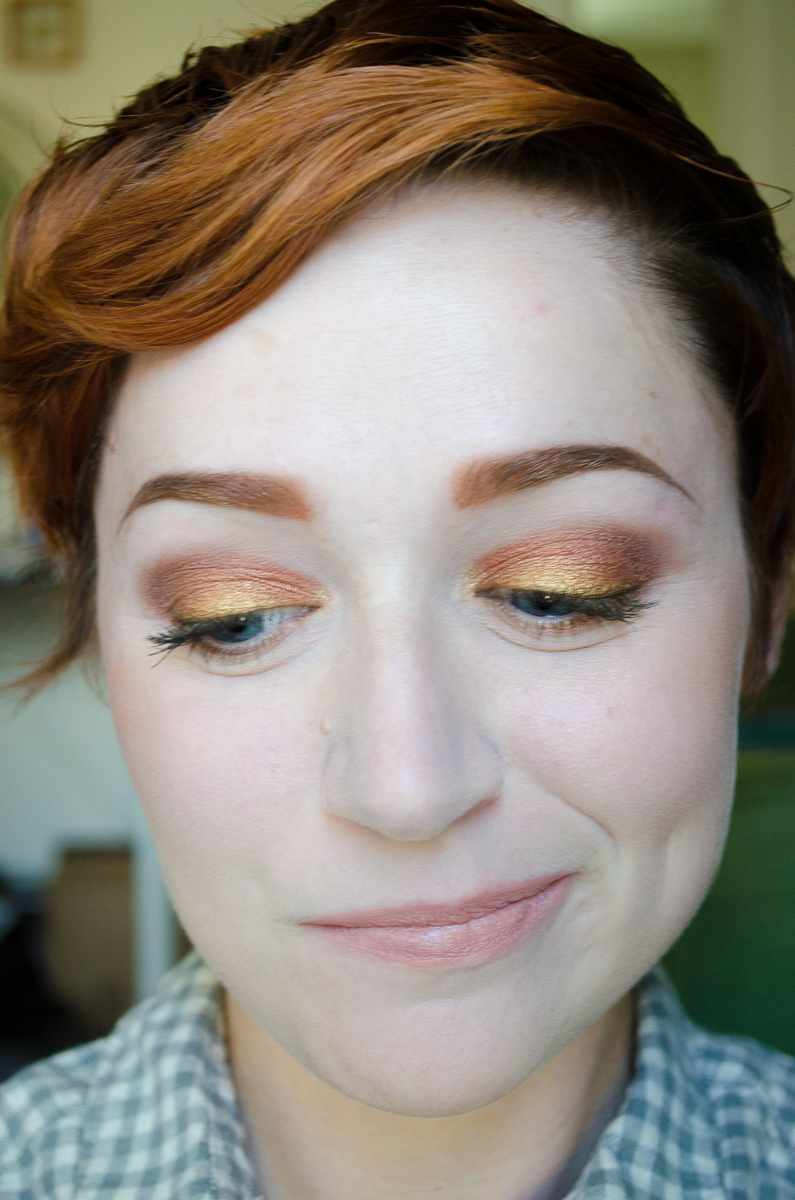
Enjoy your eye look, unbowed, unbent, unbroken!

This look is really pretty for fall! I’ve been on a gold and green kick (karma karma karma karma karma chameeeelioooooon), so I think I’ll add some green liner to it when I do it today. What brush did you use for the light copper color? I don’t have any small-sized shader brushes, just the typical sized ones.